为在校期间设置
通过以下步骤可禁止孩子在学校使用选定的应用程序,例如游戏或娱乐类应用。
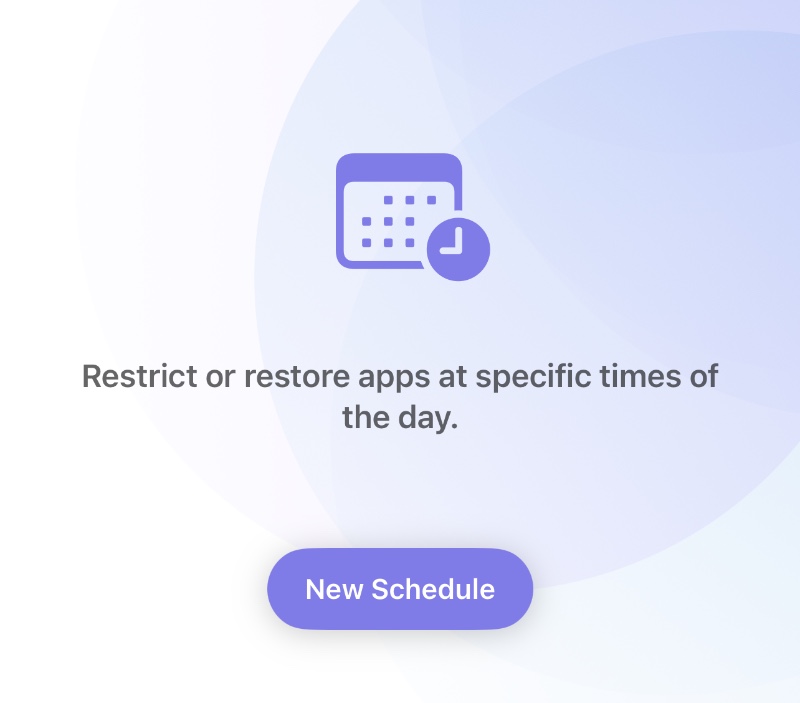
打开 Cape,转到「日程」选项卡,点击「新建日程」。
点击「选择应用程序」,选择一个已创建的组来应用这个日程。
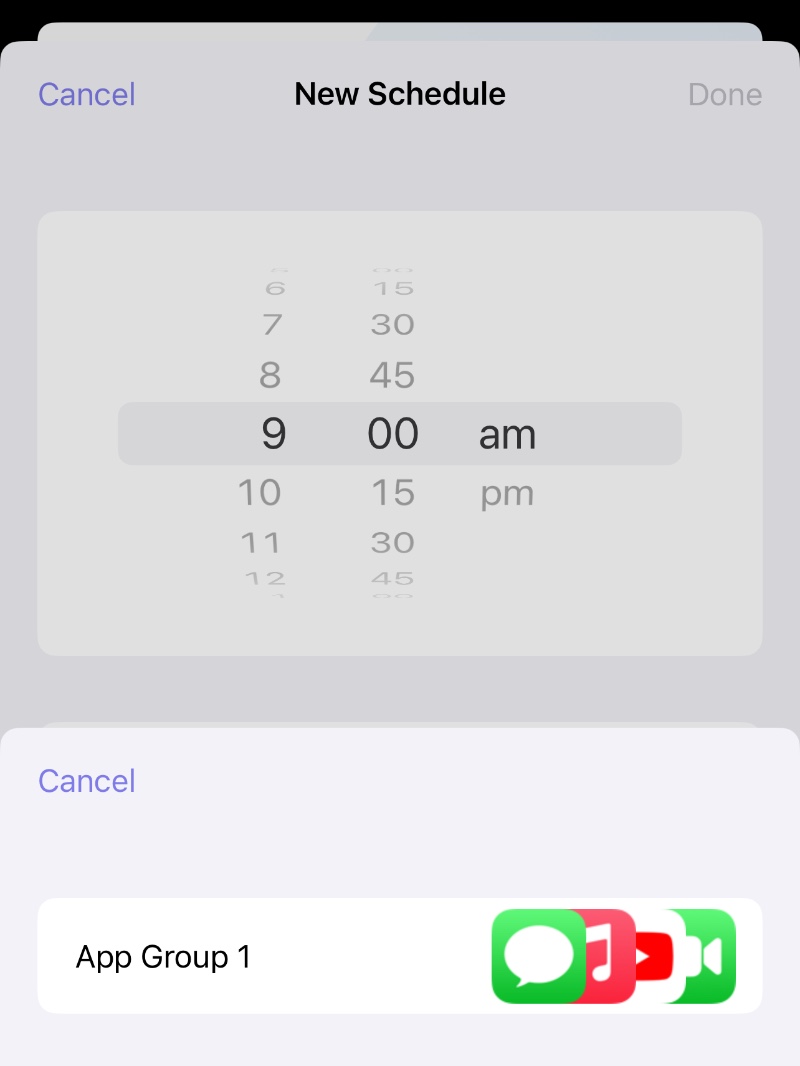
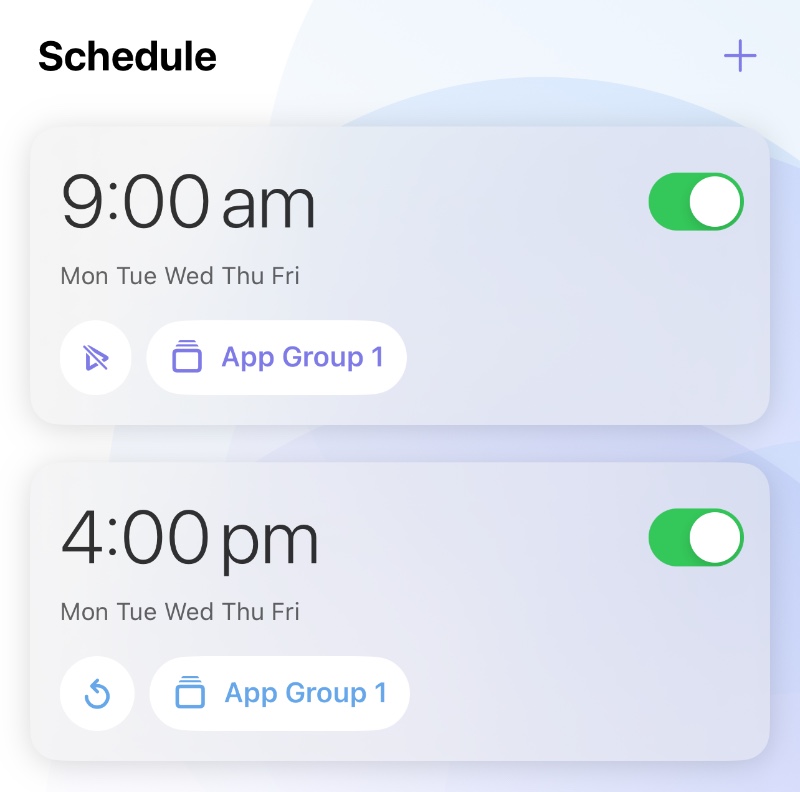
我们首先将这些应用设置为上学时自动被禁止,假设上学时间为上午 9 点,选择工作日,模式选择停用或隐藏(取决于这个应用程序分组的限制类型)
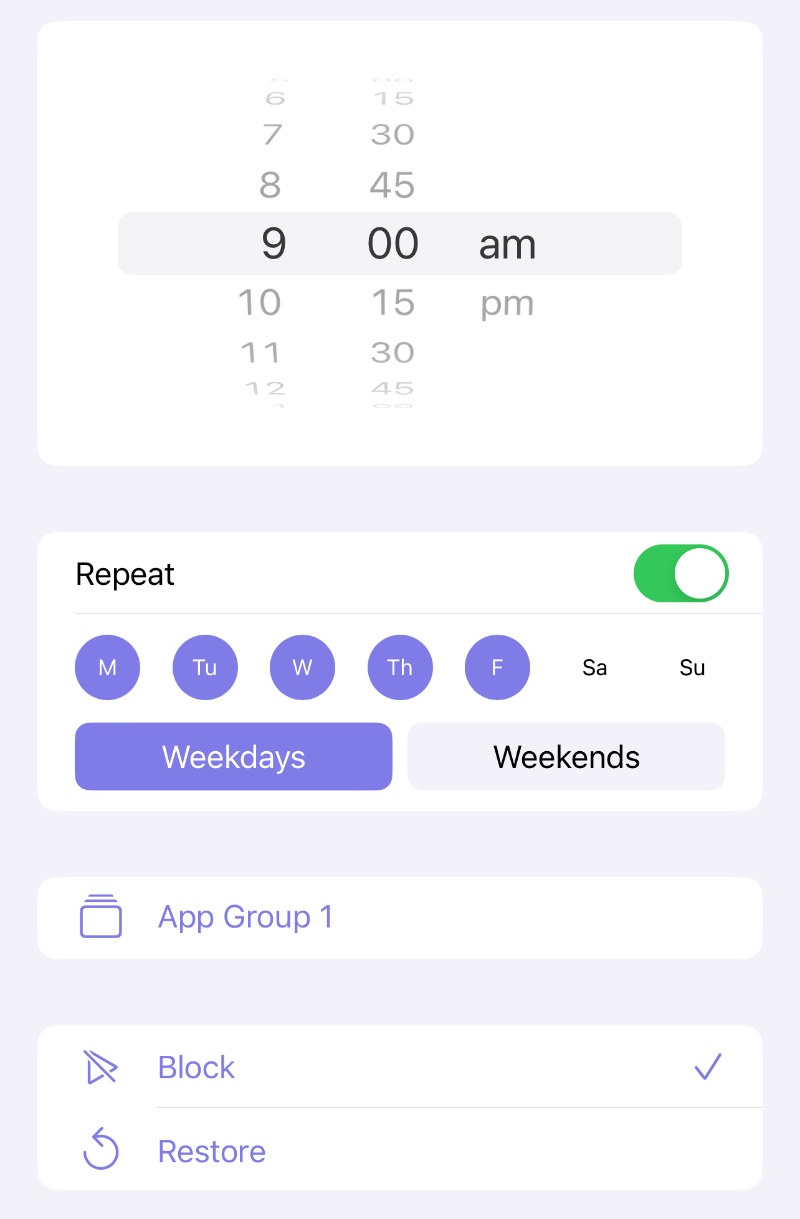
点击「完成」,然后点击「+」创建另一个日程,用于放学后恢复应用,例如,将时间设置为下午 4 点,选择工作日,然后选择恢复为模式。

点击「完成」后设置完成,所选应用组将在上课期间禁止使用,放学后恢复。
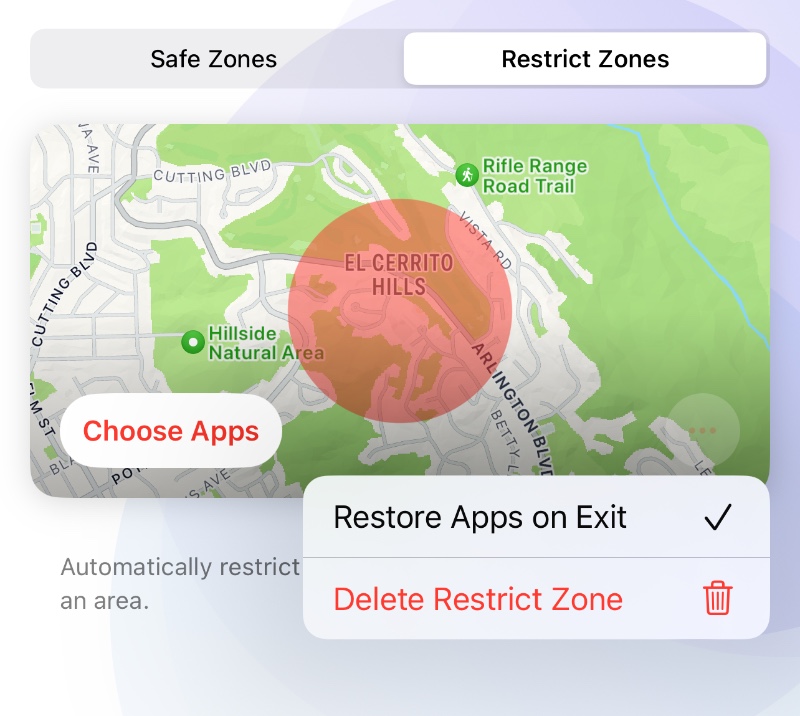
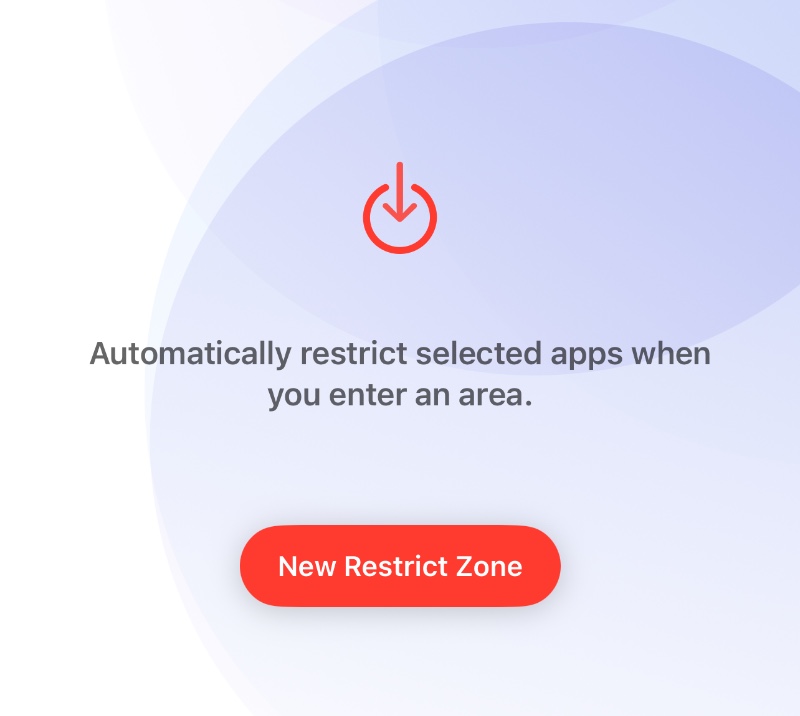
除了通过「日程」进行限制外,通过「限制区」也可以达到类似的效果。
打开 Cape,进入「区域」选项卡,点击「新建限制区」。
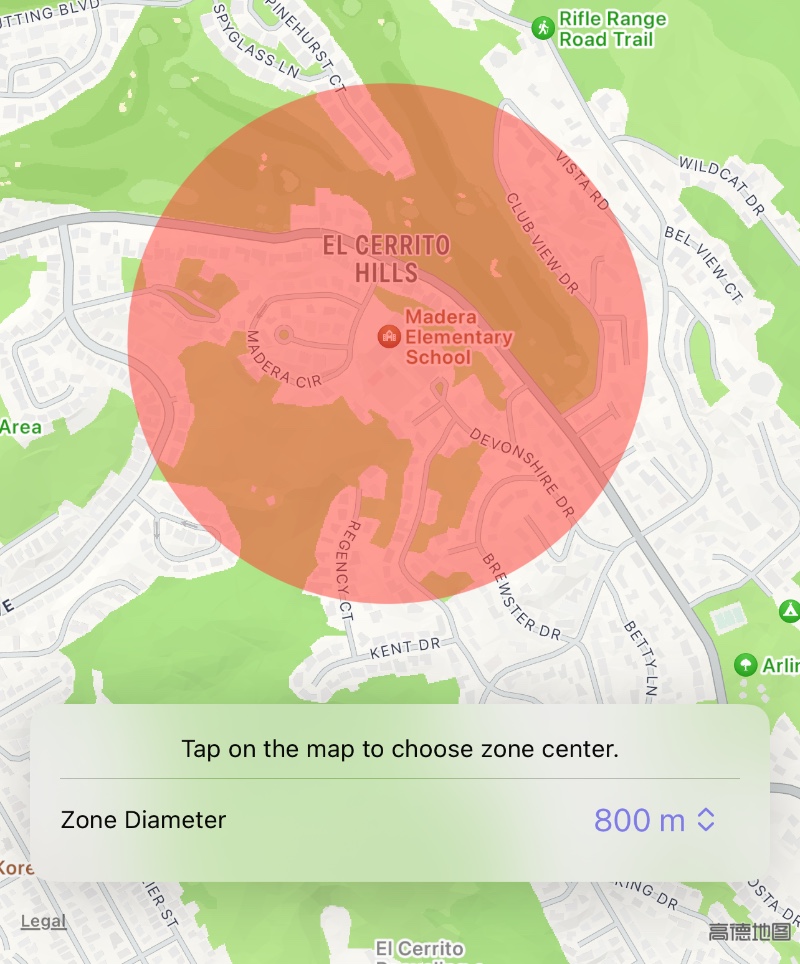
然后在地图上点击孩子学校的地点,设置限制区的中心,并选择合适的直径。
点击「完成」后,点击「选择应用程序」以选择已创建的应用程序分组来应用该限制区域。
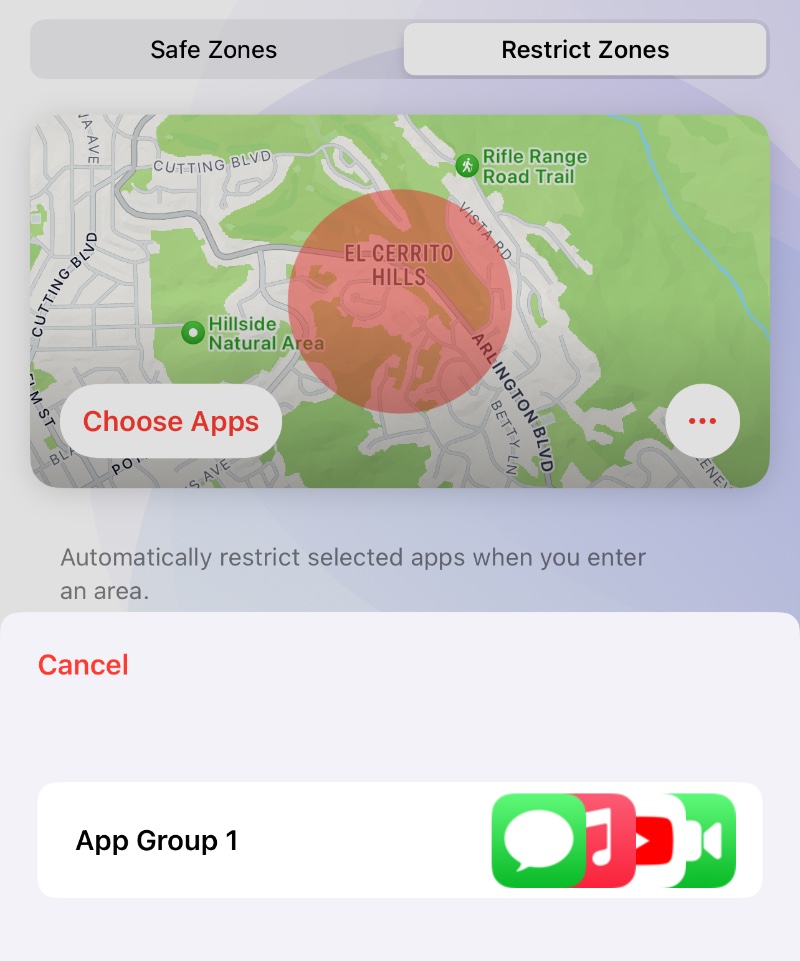
现在,当您的孩子进入学校区域时,所选的应用程序分组会自动受到限制。如果您希望在孩子离开该区域时恢复使用,请点击卡片上的「...」,然后选择「退出时恢复应用」。